
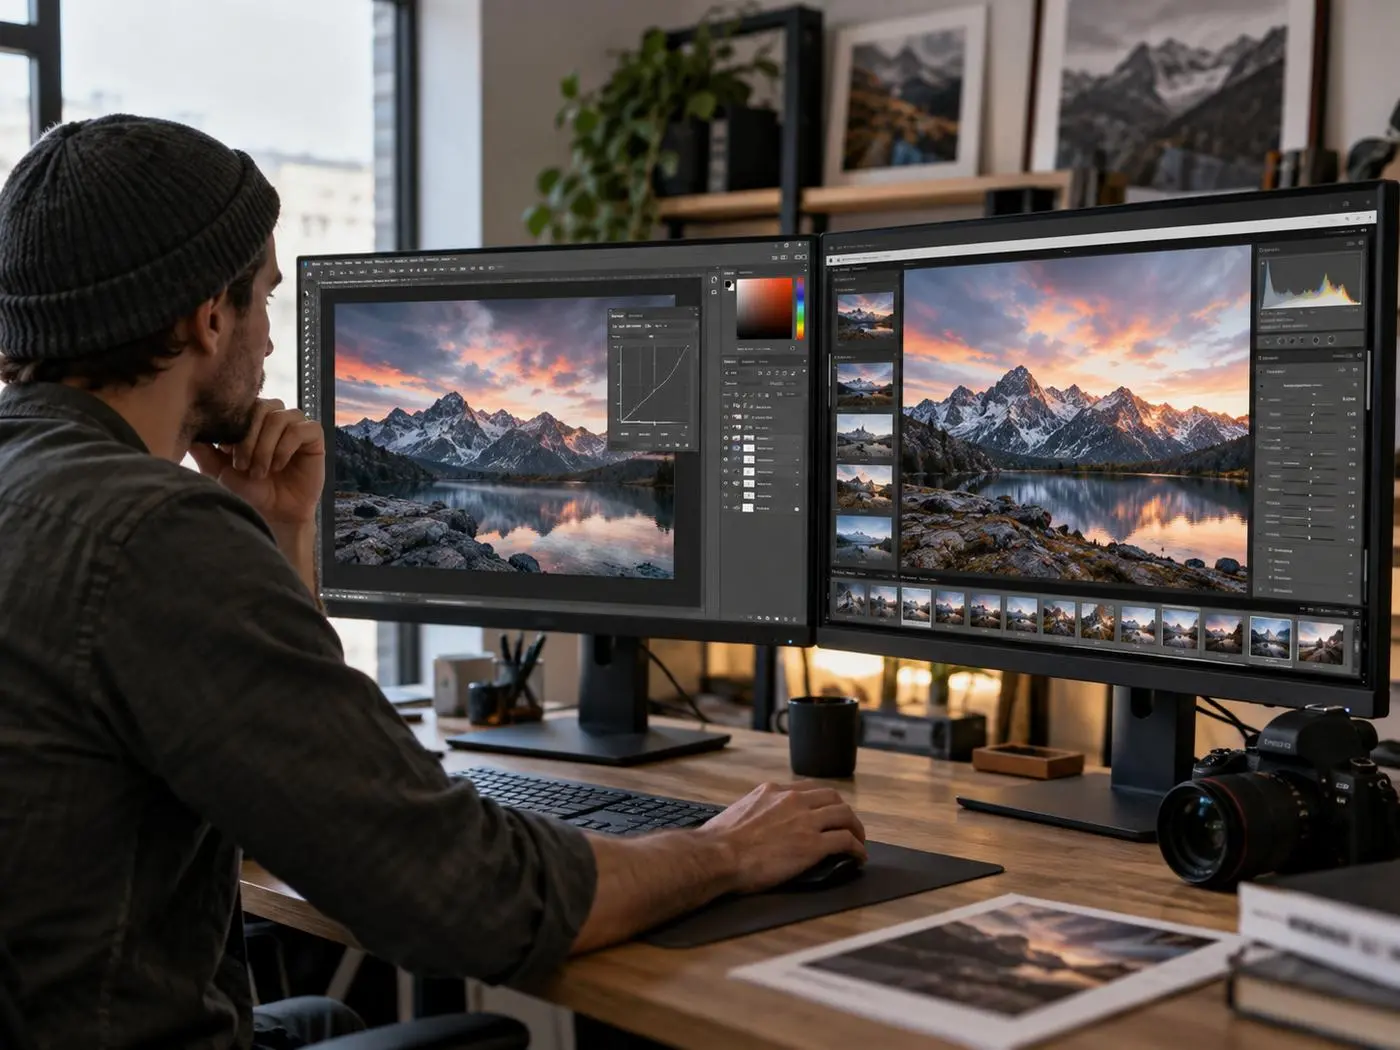
Overview
You want better photos, but which app first?
You shoot a weekend event, dump a few hundred files on your laptop, and just want them to look consistent before you post. That’s where people stall: both Photoshop and Lightroom can “edit photos,” but they solve different problems on purpose, and the wrong first choice turns simple work into a time sink.
If your main pain is sorting, picking keepers, syncing the same exposure/color tweaks across many images, and exporting fast, Lightroom is the practical starting point. If your pain is fixing one frame that needs targeted work—removing distractions, swapping a sky, reshaping light on a face, or building a composite—Photoshop earns its place. The catch is cost and learning time: buying both to “cover everything” can mean mastering neither, which is why the next decision is whether you need a library or a canvas.
Your shoot ends—do you need a library or a canvas?
You finish shooting, import the card, and the real work starts: naming, sorting, rating, and finding the “best 30” a week later when a client asks for one more. If that sounds familiar, you need a library. Lightroom is built around a catalog that keeps edits non-destructive and searchable, so you can filter “5-star + 85mm + last Saturday,” sync a look across a set, then export in the right sizes without juggling folders.
Photoshop assumes a different endgame: you open a file because this specific image needs construction. It’s a canvas—layers, masks, and pixel-level changes—where you can rebuild a background, merge elements, or retouch with extreme control. The downside is friction. You’ll manage more files (often big ones), and your “where did that edit go?” problem usually gets worse unless you stay organized on purpose.
Decide based on what happens most often after import: managing many photos, or rebuilding a few.
When 200 images need the same look fast
You cull down to a deliverable set, and then you notice it: the whole shoot needs the same exposure lift, the same white balance correction, and a consistent contrast curve. When you have 200 images, the only way that’s fast is if one decision can apply everywhere. Lightroom is built for that. You dial in a look on a “reference” frame, sync the settings across the set, and then fine-tune a few outliers. The edits stay lightweight because they’re instructions, not new pixel data, so exporting a full gallery doesn’t turn into a pile of separate versions.
Photoshop can match a look, but the workflow fights you. If you start saving layered files or exporting per-image copies, you’ll spend more time on file management than on color. Even with actions, anything that needs image-by-image judgment (like mixed lighting) slows down fast.
If your typical job is “make the set consistent,” batch speed should drive the first tool choice.
One portrait needs fixing—how deep is ‘retouch’?
You deliver a set, then one close-up won’t cooperate: a stray hair across the eye, a pimple that showed up overnight, a phone reflection in glasses, a wrinkled backdrop line behind the head. If the fix is small and you just need “less noticeable,” Lightroom can get you there with spot healing and local adjustments, especially when the blemish sits on even skin and the background is simple.
Retouch gets “deep” when the problem has edges and texture. Skin needs to stay skin, hair needs to stay hair, and you often want to protect pores while smoothing only certain zones. That’s where Photoshop’s layer-and-mask approach matters: you can separate changes, dial opacity, and back off without undoing everything. You also gain tools for tricky removals, rebuilding detail, and shaping light in a controlled way.
The cost is time and file weight. A careful Photoshop retouch can turn one portrait into a 10–30 minute job and a large layered file, so it’s worth asking a blunt question: do you ever need selections, layers, or composites to finish the image?
Layers, selections, and composites: do you actually do this?
You open an image because something specific is wrong, and the moment you think “I only want this change in this area,” you’re already in Photoshop territory. If you need to brighten just the face without touching the background, keep a sky adjustment off the buildings, or clean up hair while leaving skin texture alone, you’re relying on selections and masks. Lightroom’s local tools can handle broad, soft changes, but they start to feel blunt when the edge matters—glasses frames, product outlines, tree lines, logos on clothing.
Layers become non-negotiable when you want options. If you might need to dial the fix back later, compare two versions, or keep retouching separate from color work, layers let you do that without starting over. The real downside is overhead: you’ll create larger files, more “final_v3” decisions, and more chances to lose time if your folder habits are sloppy.
If you rarely cut subjects out, merge elements, or build “before/after” variants, you may not need Photoshop daily—but you may still want it ready for the few images that demand it.
The common two-app workflow nobody explains clearly
You finish a set in Lightroom, then you hit the one frame that won’t clean up: a distracting sign, a messy hairline, a backdrop crease that runs through the subject. In practice, the smooth “both apps” workflow is simple: Lightroom stays the home base for importing, culling, rating, global color/exposure, and exports. When an image needs pixel-level work, you send just that photo to Photoshop, do the targeted fix on layers, save, and return to Lightroom where the edited version sits next to the original for the same crop, metadata, and export presets.
This solves a real problem: you keep one consistent look across the whole shoot, but you don’t force Lightroom to do precision surgery, and you don’t force Photoshop to act like a catalog. The limitation is friction you can’t fully avoid. Round-tripping creates bigger files (often a TIFF/PSD), eats disk space fast on weddings or product batches, and adds a point where people lose track of “the final.” If you don’t name consistently or use stacks/flags, you’ll feel it.
The decision that follows is blunt: how often do you need that Photoshop detour, and is it frequent enough to justify keeping it in your everyday setup?
Choose your setup today, then stop second-guessing
You usually know what you need by looking at your last three shoots, not your ambitions. If most sessions end with “pick 40, match the look, export for web,” choose Lightroom as your daily driver and stop shopping for complexity. If you regularly hit “this one frame needs surgery” (clean removals, precise masking, compositing), keep Photoshop in the kit, but treat it like a specialist you call in only when the edge work matters.
Set one rule you’ll follow for a month: Lightroom for everything, Photoshop only when you can name the problem in one sentence. The real cost shows up in storage and attention—round-trips create big files and extra versions—so decide where you’ll store them and how you’ll mark the true final. Then shoot again and judge your workflow, not the apps.
What to Remember
Review the main ideas in context and verify details that may change over time.